For the composition assignment, I did a rule of thirds composition inspired by the art of J. Scott Campbell and the Cyberpunk: Edgerunners anime.
Thursday, September 29, 2022
Monday, September 26, 2022
Barrel Proxy and High Poly Models
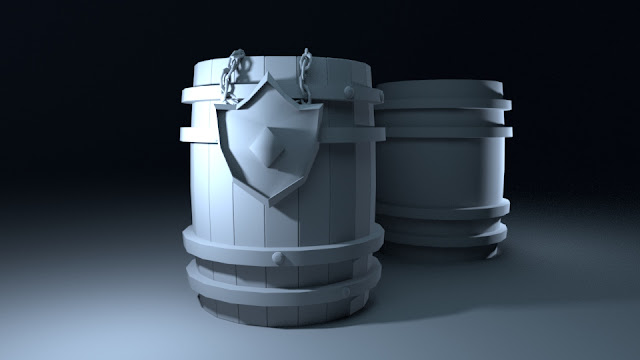
Making the chain was a learning experience, but what I ended up doing was making a torus, scaling it a bit to make it look like a chain link. I then duplicated it, and rotated the second one to make the beginning of the chain. Then I duplicated the barrel, combined the mesh and made it live which allowed me to snap curves to the model. I used the EP curve tool to make the base shape of the chain. I then selected the two chain links and the curve and used the constrain tool to attach it to the curve. Then, I used the visualize > show animation snap shot and tweaked some of the values until the chain followed the curve and looked nice. Then I combined the chain models. It was a really fun learning experience and I plan to use the same method to add some more fun details around the outside of the barrel.
Here is my reference art, from the card game known as Gwent. They have some really cool stylized barrels that they use to help define which card set you are purchasing, and I wanted to recreate one of them in 3D.
Thursday, September 22, 2022
3 Point Lighting Exercise
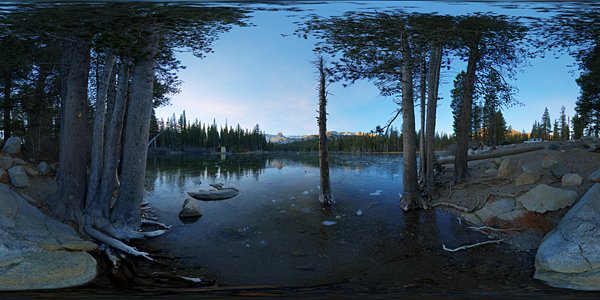
In this exercise I used these sculpts from here: https://nickzucc.gumroad.com/l/etYgc to create some renders using the Arnold renderer in Maya. I used an Ice Lake HDR file to help create the background. I used some ambient occlusion as well. to help soften the shadows. It was really fun playing with the lighting and seeing what kind of results I could get.
Monday, September 19, 2022
Thursday, September 15, 2022
Use of Value and Contrast
Sunday, September 11, 2022
Kirby Lego 3D Model
Thursday, September 8, 2022
Monday, September 5, 2022
Making a Minecraft Level using Unreal Engine 5
I tried to add a good amount of variety in the landscape to make things interesting, like these hills!
Thursday, September 1, 2022
Using Shapes for Character Design
In this project, I used basic shapes (circle, square, triangle) to design unique creatures. I made a mermaid, a red panda seal, an ogre, and a wolf knight. It was a really fun project and I learned a great deal about how simple shapes can help define characters!
Sprint #6 Delivery
This sprint, I added finishing weighting touches onto the Angel, added the completed textures to the rig files, added the stained glass pan...

-
This sprint, I added finishing weighting touches onto the Angel, added the completed textures to the rig files, added the stained glass pan...
-
I did a lot of work during this sprint, including setting up a material for the burning leaf, and setting up a Niagara system to control th...
-
This is a mood board of reference art that I collected from The Witcher 3: The Wild Hunt. It shows a good contrast between the beautiful lan...


